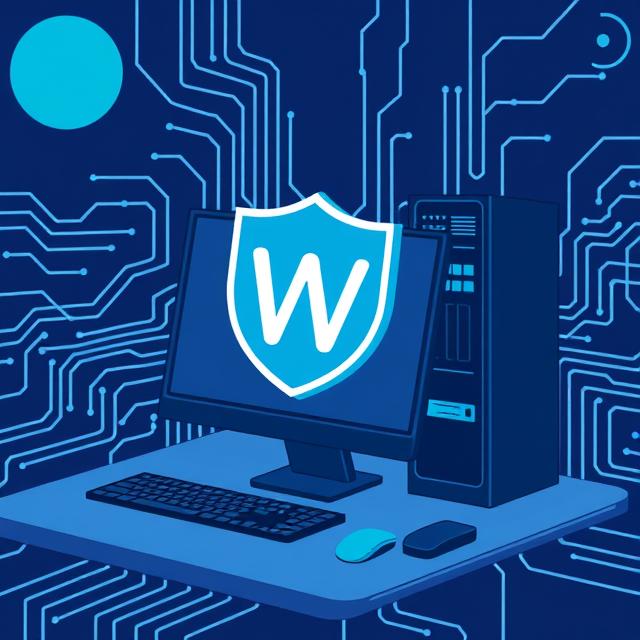
In today’s digital landscape, cybersecurity is more crucial than ever, especially for businesses and individuals managing their online presence through Virtual Private Servers (VPS). One of the most effective ways to safeguard your server is by implementing a Web Application Firewall (WAF). A WAF acts as a shield between your web applications and the internet, filtering and monitoring HTTP requests to protect against a variety of attacks. In this guide, we’ll explore the importance of having a WAF on your VPS and provide a detailed step-by-step installation guide to enhance your server’s security.
Understanding the Importance of a WAF on Your VPS
Web Application Firewalls are paramount in defending against common web exploits that can compromise a server’s security. A WAF is designed to protect your applications from attacks like SQL injection, cross-site scripting (XSS), and more. These attacks can lead to unauthorized data access, data theft, or even complete server takeover. With a WAF, these requests are intercepted and scrutinized based on predefined rules, blocking malicious attempts before they can cause harm.
Furthermore, a WAF enhances your server’s compliance with various data protection regulations. Many industries require businesses to protect client data and ensure their systems are secure from unauthorized access. Implementing a WAF helps in meeting these regulatory requirements by providing an additional layer of security. This not only protects sensitive data but also preserves your business’s reputation, as data breaches can severely damage public trust.
Another significant benefit of having a WAF is its ability to provide insights and analytics on the traffic your server receives. By analyzing the incoming requests, a WAF can help you understand potential vulnerabilities and attack patterns, enabling you to strengthen your overall security posture. This proactive approach to cybersecurity is essential for staying ahead of potential threats and ensuring the continuous safety of your online assets.
Step-by-Step Guide to Installing a WAF on Your VPS
Setting up a WAF on your VPS isn’t as daunting as it might seem, especially with the multitude of tools available today. The first step is to choose a WAF solution that best fits your needs. Popular options include ModSecurity, Cloudflare, and Sucuri, each offering different features and levels of protection. Once you’ve selected a WAF, ensure your server meets the necessary requirements for installation, such as having the proper PHP or Apache modules.
After choosing your WAF, the next step is to install it on your server. If you’re opting for ModSecurity, you can use your server’s package manager to install it. For instance, on a Linux-based VPS, use commands like sudo apt-get install libapache2-mod-security2 for Ubuntu/Debian systems. Configure the WAF by creating custom rules or using the default ones provided. It’s crucial to test these rules in a staging environment first to ensure they don’t disrupt legitimate traffic.
Finally, monitor the WAF’s performance and make adjustments as needed. Most WAF solutions offer dashboards that provide real-time data on threats and traffic. Regularly reviewing these reports will help you refine your rules and keep your server secure. Additionally, stay updated on the latest security threats and WAF updates to ensure you’re always protected against emerging vulnerabilities.
Securing your VPS with a Web Application Firewall is a proactive step towards ensuring the safety of your web applications and sensitive data. By understanding the importance of a WAF and following a structured installation process, you can significantly enhance your server’s security posture. Remember, cybersecurity is an ongoing process, and regularly updating your WAF’s rules and configurations is essential in adapting to new threats. With a robust WAF in place, you can focus on growing your online presence with peace of mind, knowing your digital assets are well-protected.